\
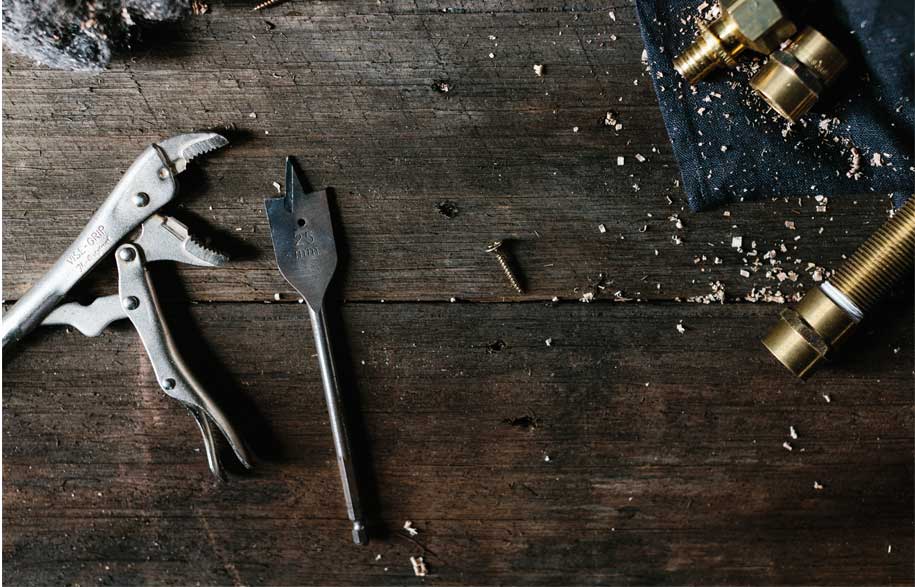
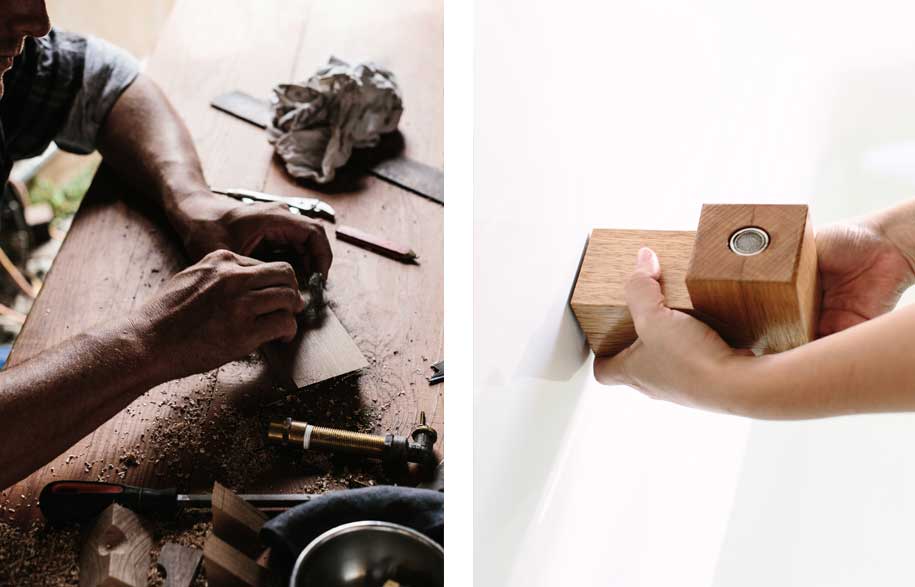
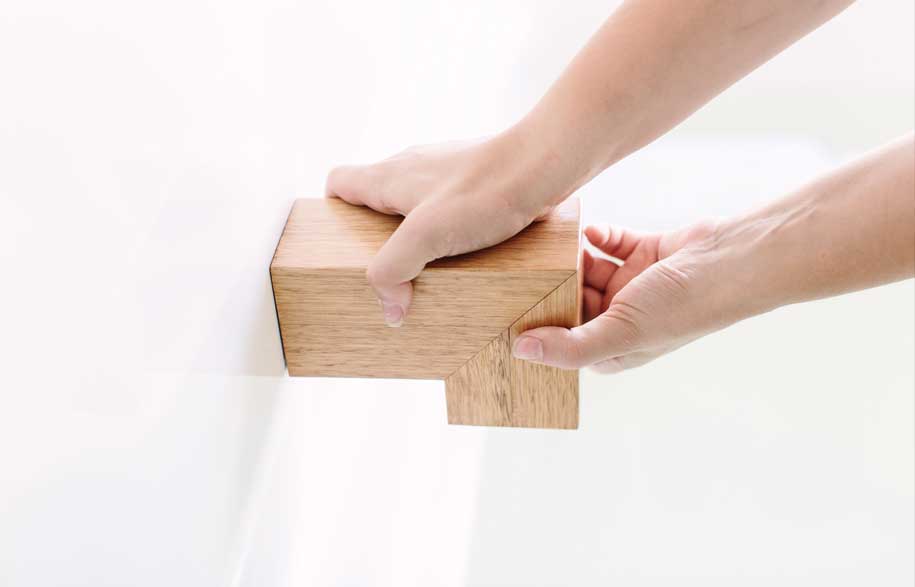
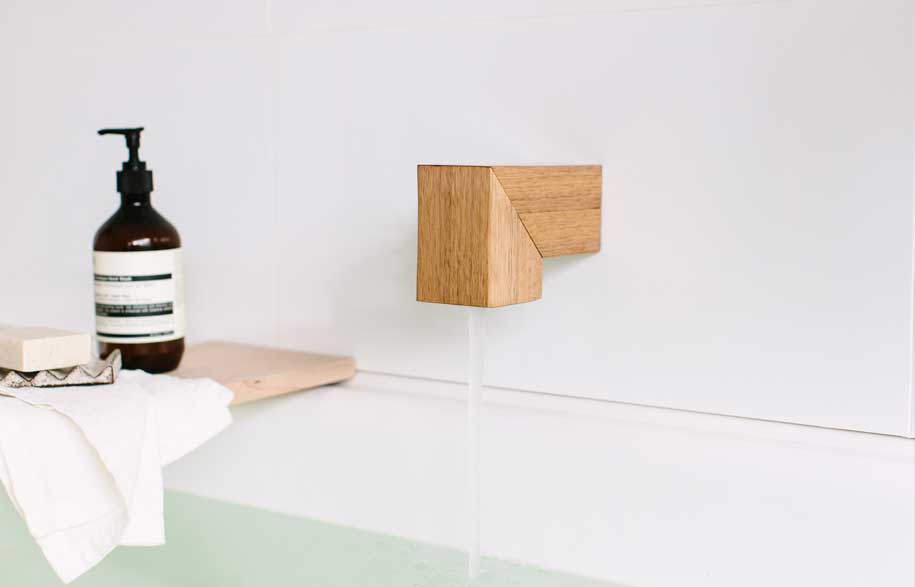
I am finishing off the top a kiri spout, to get to this stage I have already made timber to size, routed out the section to fit the brass component and mitre cut to join up perfectly. Then I drill the bottom of the spout where the aerator comes out.
//
\
So the basic shape has been made and it all fits together, this is the stage where I find out if it’s perfect enough to keep, and go through to the next phase.
//
\
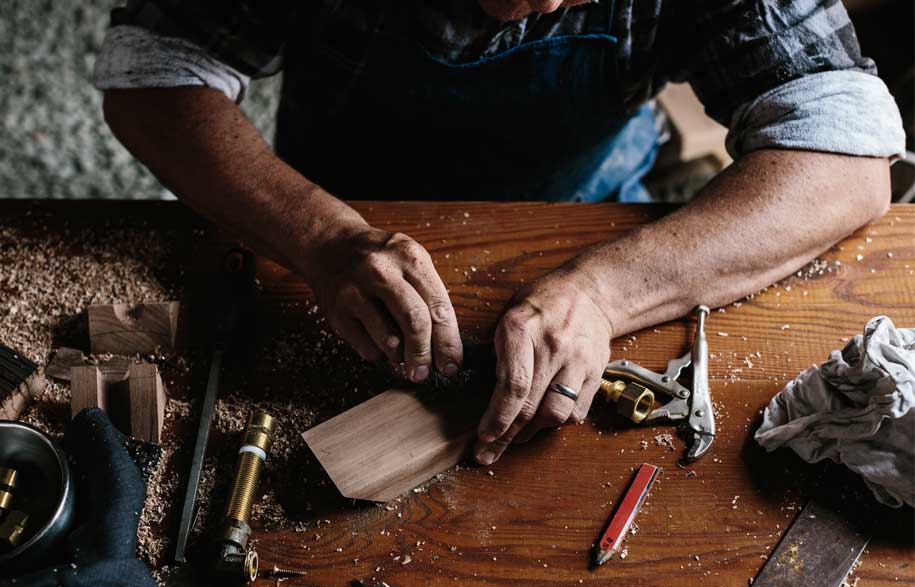
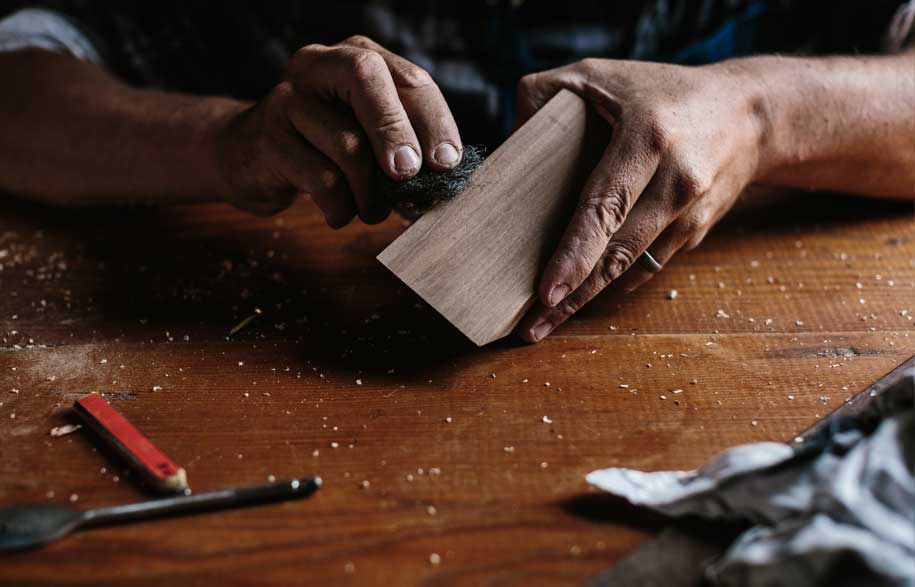
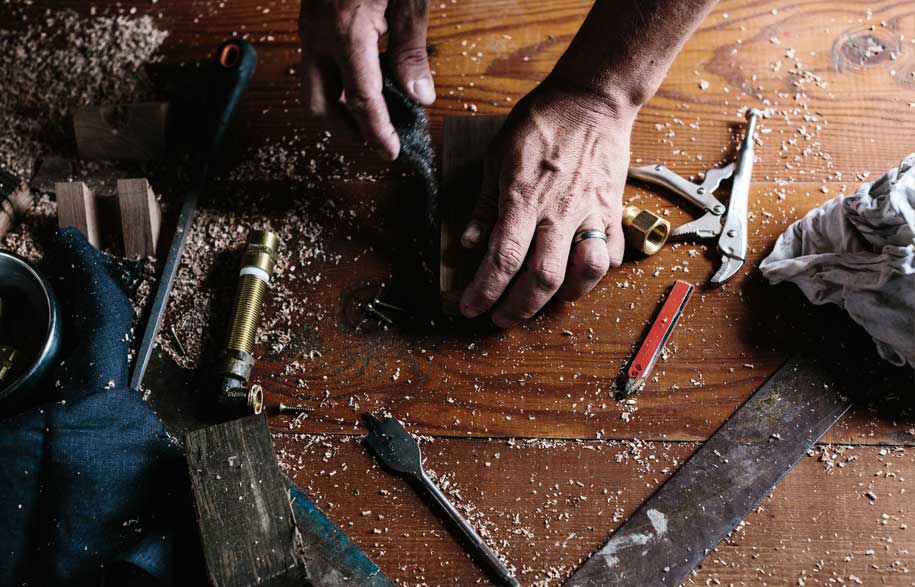
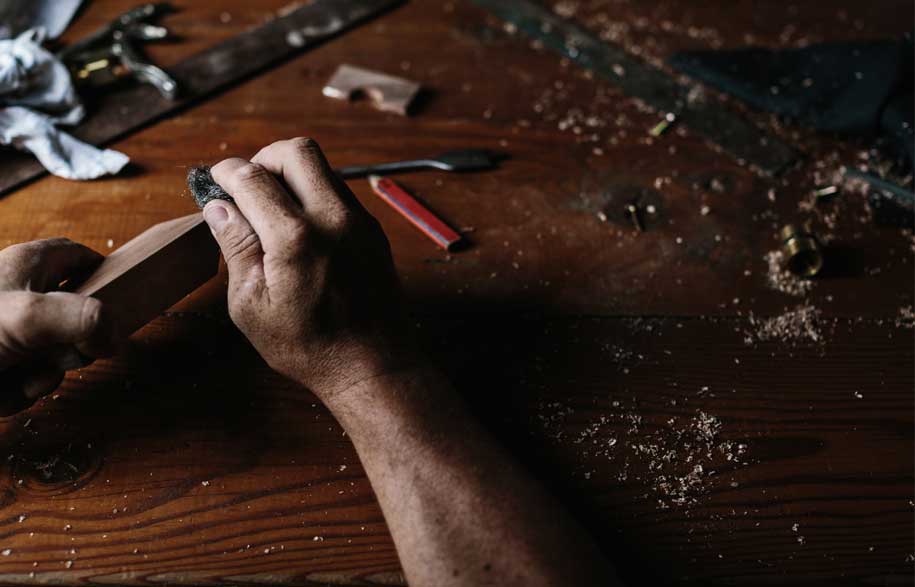
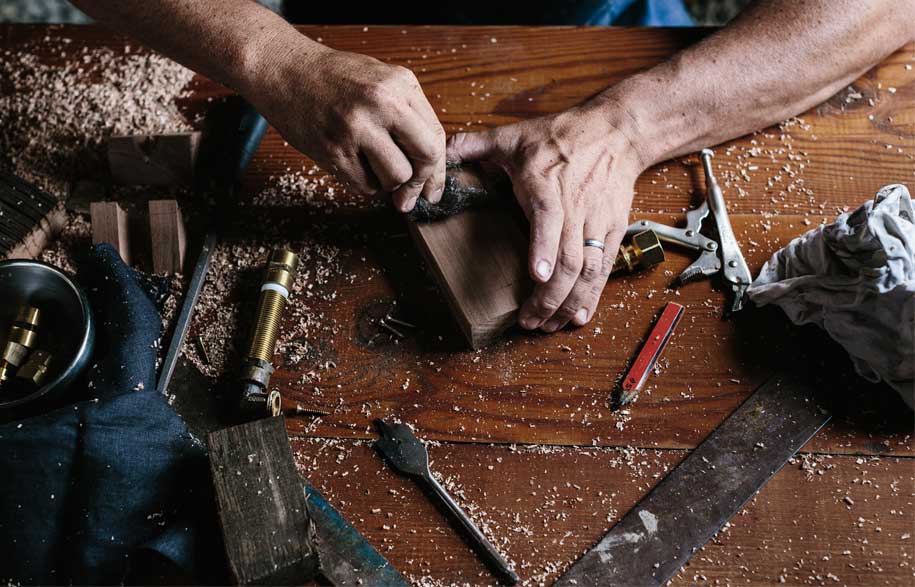
I finish the timber with steel wool which gives the it an unbelievably smooth finish, so I work down from 80 grit-120 grit-180 grit-240 grit then steel wool(grit is the grade or roughness of the sand paper). Once I am happy with the feel of it I glue the 3 pieces together with brass component hidden away inside. After the glue has dried I sand back any of the exposed glue and hit it again with the steel wool. Then I seal it up 4 times with a light sand between coats. It’s a slow labour of love.
//
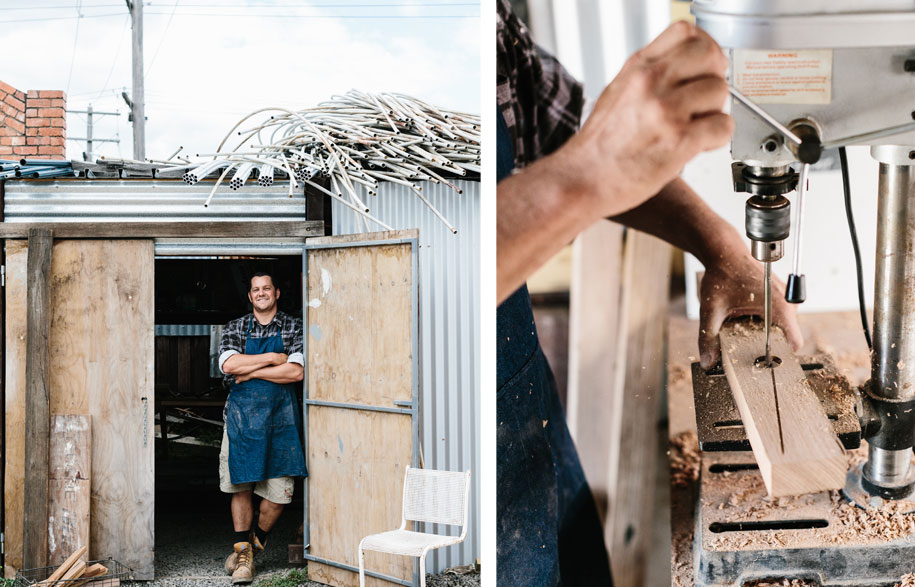
Oliver explains further: “In the top image, I’m setting the drill press. I use the drill press to drill the hole on the bottom of the spouts to allow the aerator to come out of the timber it is very important that the hole is as close to the same size as the aerator as possible. To do this I need to make sure the drill bit is set properly and to the right depth. If it is all set right it will make a perfectly clean hole, if not it can catch on the timber and ruin the whole thing which is a real pity when I have already done so much work! I have to set up all my tools and check them regularly to make sure everything is running perfectly.”
“I love the way timber looks and feels, its versatility, how it ages with you and tells a story”
Photography by Tara Pearce
Styling by Stephanie Stamatis
Read our Design Hunter Q + A with Oliver here
Wood Melbourne
woodmelbourne.com


